Pediatric stem cell transplant: pre-admission checklist
A pediatric hematopoietic stem cell transplant (HSCT) rarely begins on the day the cells are infused.
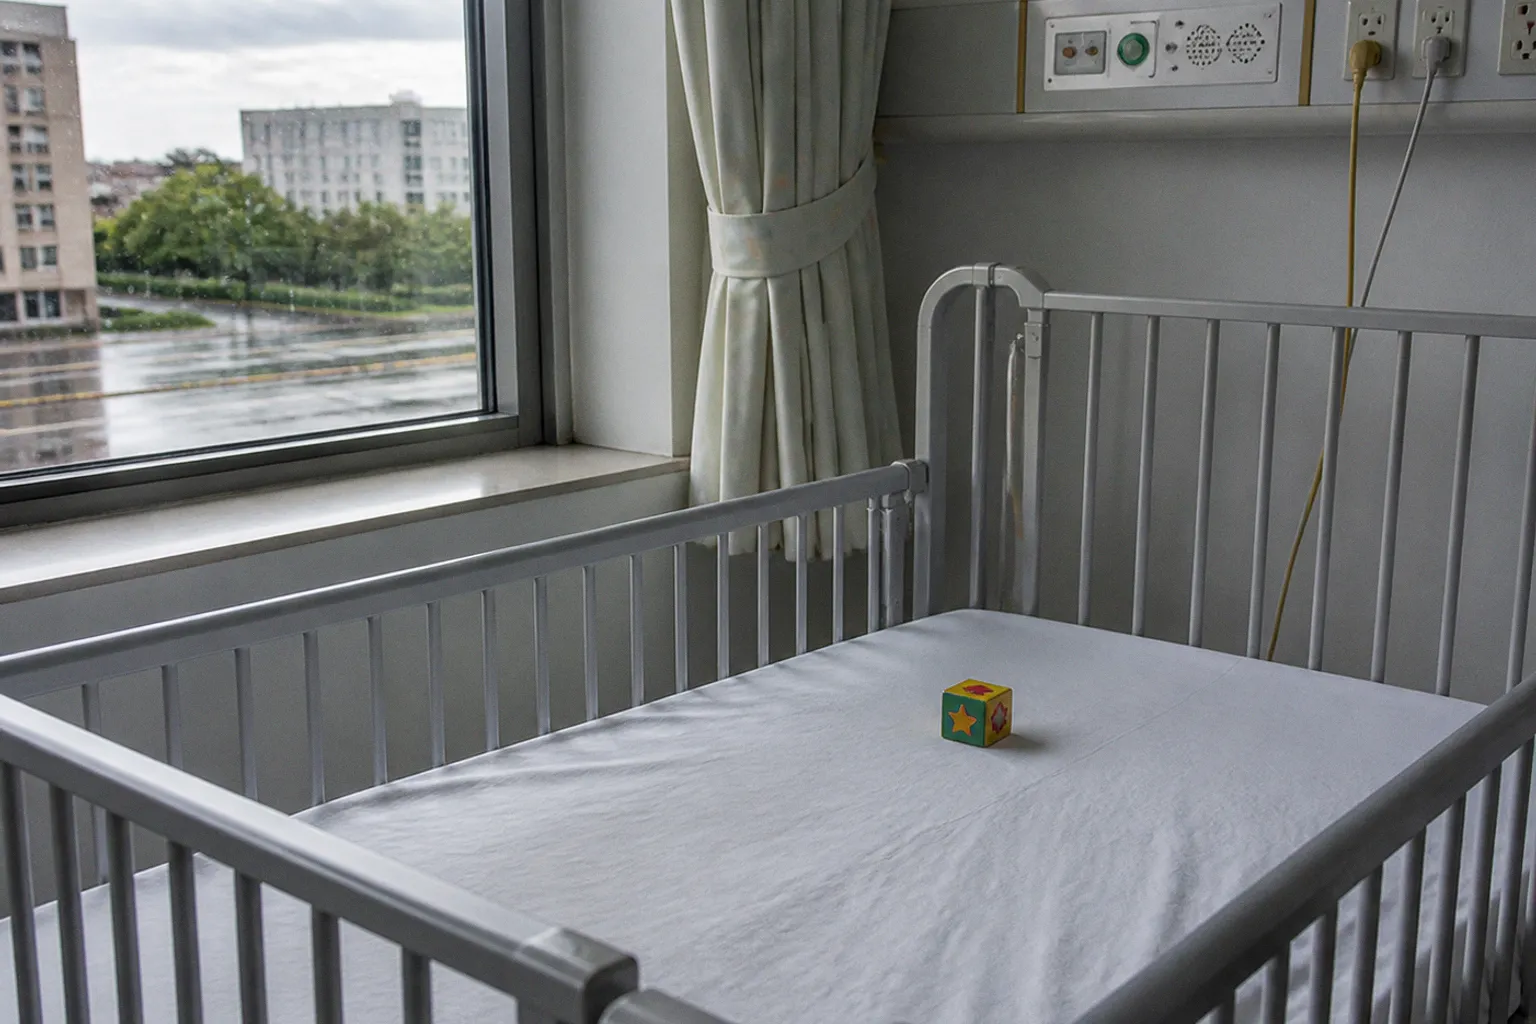
By the time the product reaches the bedside, the family has already navigated baseline organ evaluations, dental review, central venous catheter placement, caregiver planning, and decisions about what the child can safely return to after discharge.
That sequence matters because conditioning chemotherapy is not a reset button. The transplant team needs a current picture of the heart, lungs, kidneys, liver, infection status, nutrition, dental health, and home environment before it commits a child to a demanding treatment course. A delay in one area can affect several others: an unresolved infection may postpone line placement, a change in kidney function may trigger a conditioning review, and a caregiver problem may become a discharge barrier weeks later.
This pediatric stem cell transplant preparation checklist is designed as a working map rather than a universal admission order set. Public guidance from major pediatric transplant centers is broadly consistent, but the details differ. The treating center’s written protocol takes priority, particularly for testing windows, vaccine timing, dental treatment, line placement, isolation precautions, and what may enter the transplant unit.
The practical distinction is important: some items are clinical prerequisites for a particular regimen, while others are recommendations that make a long admission safer and more manageable. They should not all be treated as inflexible rules.
Mandatory Baseline Organ Function Evaluations
Conditioning chemotherapy and post-transplant immunosuppression place stress on several organ systems at once. The team uses baseline results to assess whether the planned regimen is appropriate, adjust doses, identify risks that need active management, and establish comparison points for later complications.
The workup is rarely a single appointment. It may involve several outpatient visits, anesthesia planning, blood tests, imaging, specialist reviews, and repeat testing if the first result is outside the center’s expected range.
Cardiac Workup
A pre-transplant cardiac assessment commonly includes an echocardiogram and a 12-lead ECG. The echocardiogram evaluates cardiac structure and function, including ventricular function and, where relevant, ejection fraction. The ECG provides a rhythm baseline and may identify conduction abnormalities that need further review.
The exact testing package depends on the child’s disease, previous treatment, symptoms, and the proposed conditioning regimen. A child who has received potentially cardiotoxic chemotherapy, has a known congenital heart condition, or has concerning findings on examination may need a more detailed cardiology assessment.
The point is not simply to obtain a number for the chart. The transplant team needs to know whether the heart can tolerate fluid shifts, anemia, infection, and the medications used during conditioning and recovery. If the evaluation identifies reduced function or another clinically significant problem, the team may consult cardiology, change supportive care, reconsider the timing of admission, or modify the conditioning plan. The effect on disease control has to be weighed against the child’s immediate treatment risk.
Parents should ask for the result in a form they can understand, not only whether the test was marked as complete. It is also useful to clarify whether the cardiac test must be repeated if admission moves by several weeks. Testing windows are center-specific.
Pulmonary Function
Children who can cooperate with spirometry generally undergo pulmonary function testing. The age at which a child can produce reliable results varies; cooperation, developmental level, fatigue, and prior lung disease all matter. Some younger children can complete selected tests with coaching, while others cannot produce interpretable spirometry even when they are otherwise healthy.
If standard pulmonary function tests are not feasible, the center may use a clinical assessment, chest imaging, oxygenation measurements, or another age-appropriate approach. A chest X-ray or CT is not an automatic substitute for PFTs in every child, and imaging decisions should be guided by symptoms, history, examination, and the transplant protocol.
The team is looking for more than active pneumonia. Previous infections, restrictive or obstructive disease, airway problems, treatment-related lung injury, and reduced respiratory reserve may influence conditioning and monitoring. A reliable baseline also helps clinicians interpret later symptoms. Cough, shortness of breath, oxygen requirement, and changes in pulmonary measurements have a different meaning when the pre-transplant status is documented clearly.
Families should report recent respiratory infections, wheezing, persistent cough, exercise intolerance, and sleep-related breathing problems before admission. A mild symptom that seems routine at home may still affect whether testing is interpretable or whether the child should proceed directly to conditioning.
Renal Function: Do Not Confuse the Tests
Kidney assessment is one of the areas where transplant paperwork can become misleading. “GFR testing” may refer to different methods, and a 24-hour creatinine clearance is not the same test as tracer-based measured GFR.
An estimated GFR is calculated from serum creatinine and other patient factors, using a pediatric equation selected by the clinical team. It requires a blood sample and is convenient, but it is an estimate. Its reliability can be affected by low muscle mass, growth, malnutrition, changing kidney function, and other clinical circumstances.
A 24-hour creatinine clearance requires a timed urine collection, usually together with blood creatinine measurement. The calculation uses the amount of creatinine excreted in the collected urine and the blood concentration. The quality of the result depends on collecting all urine during the specified period. Missing a portion of the collection can make the result difficult to interpret.
A tracer-based measured GFR is different again. It involves administration of a filtration marker, followed by blood samples at specified time points or another validated sampling schedule. The center may use this approach when a more direct measurement is needed, for example when the estimated result is borderline, the child has had nephrotoxic exposure, or the conditioning protocol requires more precise assessment of renal clearance.
| Kidney assessment | What it involves | When the team may use it |
|---|---|---|
| Estimated GFR | Serum creatinine and a pediatric estimating equation | Often used as an initial assessment when renal function appears stable |
| 24-hour creatinine clearance | Timed urine collection plus blood creatinine measurement | May be considered when an estimate is uncertain and the center wants clearance calculated from urine and blood data |
| Tracer-based measured GFR | Tracer administration with serial blood sampling or another validated protocol | May be selected when a direct measurement is clinically important or required by the treatment protocol |
The timing of blood samples belongs to the tracer protocol, not to a 24-hour urine collection. A schedule such as baseline and samples one, two, and four hours after injection describes serial sampling after tracer administration; it should not be labeled “24-hour creatinine clearance.”
Parents should ask three concrete questions before the appointment:
- Which kidney test has been ordered?
- Does it require a timed urine collection, an injection, or both?
- What happens if the child cannot complete the collection or a sample is missed?
The answers affect scheduling and preparation. If a 24-hour collection is required, the family needs instructions about the start and end times, storage, diapers or toilet training, and what to do if urine is accidentally discarded. If a tracer study is planned, the family should know how long the visit will last and whether blood draws will be taken through an existing line or by venipuncture.
The result may influence the choice or dose of conditioning agents and other medicines. It is not a reason for parents to interpret the number independently; the transplant pharmacist and physicians need to connect the result to the proposed regimen.
Liver, Infection, and Other Baseline Screening
Baseline laboratory testing commonly includes liver enzymes, bilirubin, albumin, electrolytes, blood counts, coagulation studies, and other tests selected for the child’s diagnosis and treatment history. The purpose is to identify active problems before conditioning adds another layer of physiological stress.
Infectious-disease screening often includes serology or molecular testing for viruses such as hepatitis B, hepatitis C, HIV, CMV, EBV, HSV, and VZV. Testing for toxoplasmosis, adenovirus, and other pathogens depends on the child’s risk profile, donor factors, local practice, and the conditioning or prevention plan.
A positive result does not automatically mean that transplant cannot proceed. It may lead to additional testing, antiviral treatment, altered monitoring, donor or graft considerations, or a change in timing. The clinically important question is whether the infection is active, latent, adequately treated, or likely to reactivate during immunosuppression.
Vaccination history must be reviewed carefully. Live vaccines require particular attention because timing before intensive immunosuppression is not interchangeable across vaccines or transplant protocols. Families should not schedule additional vaccines independently once transplant planning is underway. The transplant team should confirm what is appropriate, what should be deferred, and whether household contacts need specific guidance.
Nutrition, growth, medication review, and psychosocial assessment also belong in the pre-admission picture. A child with weight loss, feeding difficulty, swallowing problems, or limited oral intake may need dietetic support or a plan for enteral or parenteral nutrition. Medicines, supplements, and over-the-counter products should be reviewed for kidney, liver, bleeding, sedation, and interaction risks.
A pre-transplant test is useful only when the team knows what it measured, when it was measured, and how the result will change the plan.
Dental Clearance and Infection Risk Mitigation
Dental assessment is a standard part of many pediatric HSCT pathways, particularly for children old enough to have erupted teeth and for those with a history of caries, orthodontic treatment, trauma, or dental infection. The goal is to identify problems that could become harder to treat during neutropenia, thrombocytopenia, mucositis, or prolonged immunosuppression.
The evaluation may include a clinical examination and dental imaging when indicated. The transplant center may request a written dental assessment or clearance document. That document should describe active decay, periodontal disease, abscesses, loose teeth, recent procedures, planned treatment, and whether any intervention requires additional coordination with the transplant team.
Not every abnormal dental finding has the same significance. A small area of decay, a retained primary tooth, gum inflammation, and an abscess are not interchangeable problems. Depending on the finding and the center’s protocol, the team may recommend restoration, extraction, observation, antimicrobial treatment, a short delay, or consultation between the dentist and transplant physicians. In some situations, a problem can be managed with a coordinated medical and dental plan rather than completed before admission; in others, treatment before conditioning is strongly preferred or required.
That decision is clinical and protocol-dependent. A flagged dental issue should never be ignored, but it is also inaccurate to claim that every finding must be resolved in exactly the same way before admission. The transplant team needs the information early enough to decide whether treatment, healing time, antibiotic coverage, or additional monitoring is necessary.
Families should tell the transplant coordinator about:
- Tooth pain, facial swelling, gum bleeding, bad breath that is new or persistent, or fever.
- A recent extraction, filling, dental injury, or course of antibiotics.
- Orthodontic appliances, removable retainers, loose teeth, or erupting teeth.
- Difficulty brushing because of pain, sensory issues, nausea, or developmental limitations.
The infection-risk review extends beyond the mouth. Skin breaks, draining wounds, eczema with open areas, nail infections, ear infections, sinus symptoms, urinary symptoms, and recent fevers may all affect the admission plan. This does not mean that every minor skin change will postpone transplant. It means the team needs to distinguish an intact, manageable condition from a possible source of invasive infection before the child becomes profoundly immunocompromised.
Dental and skin care should also be realistic. Aggressive scrubbing can damage fragile tissue, while complicated home routines may fail once the child is exhausted or nauseated. The family should receive a center-approved plan for oral hygiene, moisturizers, bathing, wound care, and when to call.
Surgical Preparation: Central Venous Catheter Placement
A central venous catheter is usually required for a pediatric HSCT. The specific device may be a tunneled catheter such as a Hickman or Broviac line, an implanted port in selected circumstances, or another device chosen by the center. The decision depends on the treatment plan, expected duration of access, blood sampling needs, infection risk, the child’s anatomy, and local surgical practice.
The catheter may be used for chemotherapy, fluids, blood products, stem cell infusion, blood sampling, parenteral nutrition, and intravenous anti-infective medicines. It reduces the need for repeated peripheral venipuncture, but it introduces its own risks: bloodstream infection, blockage, displacement, thrombosis, bleeding, and damage to the dressing or exit site.
Placement is often performed under general anesthesia by pediatric surgery or interventional radiology. Timing varies. Some centers place the catheter before admission, while others schedule it at or near admission after key clearances are complete. The line should not be treated as an isolated technical procedure: anesthesia assessment, platelet count, coagulation status, infection screening, and the timing of chemotherapy may all affect the schedule.
Before placement, parents should know:
- Which type of catheter is planned and where it will exit.
- Whether the child will need fasting and for how long.
- How pain will be managed after the procedure.
- When the line may be used and when the dressing may be changed.
- Which symptoms require an urgent call.
- Who will teach the family home care if the child is discharged with the line.
Line-care teaching commonly covers hand hygiene, dressing care, flushing, clamping, protecting the catheter during bathing, and recognizing redness, drainage, swelling, pain, leakage, fever, or a change in how the line flushes. The exact flushing solution and schedule are center-specific. Families should follow the transplant unit’s instructions rather than combine them with advice found online or from another hospital.
A practical issue that deserves more attention is clothing. The exit site may be on the chest, and the child may have dressings, tubing, or limited arm movement after placement. Front-opening shirts, soft fabrics, and loose layers are usually more workable than tight pullovers. This is a recommendation for comfort and access, not a universal admission requirement.
If the child develops fever, respiratory symptoms, skin infection, or another acute illness before the procedure, the family should contact the center. The surgical team may need to reassess the timing rather than proceed automatically.
Logistics for Extended Hospital Isolation
A pediatric HSCT admission can be long and unpredictable. The duration depends on the disease, conditioning intensity, donor and graft characteristics, complications, engraftment, oral intake, medication needs, and the center’s discharge criteria. Some children remain hospitalized for several weeks; others require a longer stay. Families should plan for an extended admission without assuming that a particular number of days is guaranteed.
Protective-environment measures may include a HEPA-filtered room, positive pressure, visitor restrictions, masking, food rules, limitations on fresh flowers and plants, and specific cleaning requirements. These measures differ by hospital and may change according to the child’s blood counts, infection status, and the unit’s current policy.
Conditioning is often delivered over several days before the infusion, which is designated Day 0 in transplant terminology. That does not mean every child’s calendar is identical, and it does not mean discharge follows immediately after engraftment. The child may still need intravenous medicines, transfusions, nutritional support, treatment for mucositis, or monitoring for graft-versus-host disease and infection.
Legal and Caregiver Logistics
Caregiver planning should begin before admission because it is difficult to solve practical problems from a hospital room. The primary caregiver may need to remain close to the child for much of the admission, while another adult handles siblings, employment, transportation, and household responsibilities.
Useful preparations may include:
- Arranging temporary authorization for another adult to make school, childcare, or emergency medical decisions for siblings.
- Discussing family leave, disability paperwork, remote work, or employer documentation as early as possible.
- Identifying a backup caregiver who understands the center’s expectations and can step in if the primary caregiver becomes ill.
- Planning transportation for urgent outpatient visits after discharge.
- Confirming where the family will stay if home is too far from the transplant center.
- Asking about social work, lodging, financial counseling, interpreter services, and psychological support.
A backup caregiver may not need to perform every task immediately, but should know how to contact the transplant team, where medications are stored, what symptoms are urgent, and what infection precautions apply. The center may require formal teaching before that person can provide care.
Preparing the Home
Home preparation is usually a risk-reduction exercise, not a demand to create a sterile household. The center may recommend addressing visible mold, dust from construction, water damage, and other sources of aerosolized particles. Houseplants, fresh flowers, soil, pet care, and cleaning routines may be restricted or modified during the period of greatest immunosuppression.
The details depend on the child’s condition and the transplant unit’s policy. Some centers recommend a home assessment; others provide written instructions during discharge planning. Families should ask specifically about pets, litter boxes, gardening, humidifiers, well water, food preparation, visitors, and siblings who attend school or daycare.
The most useful preparation is often simple: establish a clean medication area, make space for supplies, confirm refrigerator storage requirements, keep thermometers and emergency contact numbers accessible, and identify who can handle laundry, meals, and errands. A household that can function without requiring the caregiver to leave the child alone is more valuable than an expensive collection of equipment.
Strategic Packing for Chemotherapy and Recovery
Hospital packing lists are practical recommendations shaped by line access, infection-control policy, room space, and the child’s expected symptoms. They are not all mandatory, and the hospital will usually provide some bedding, towels, gowns, linens, and basic clinical supplies.
The family should request the unit’s current policy before bringing personal items. Rules about toys, electronics, food, blankets, outside clothing, and laundry vary.
Clothing
Front-opening shirts with buttons, snaps, or zippers are often easier than pullovers when a child has a central line, dressings, nausea, fatigue, or limited arm movement. Soft cardigans, zip hoodies, and loose button-down tops can make examinations and line access less disruptive.
Loose trousers with a drawstring or soft waistband may be more comfortable if the child develops abdominal discomfort, fluid retention, bloating, or skin sensitivity. Side-snap trousers can be useful for children who spend much of the day in bed or need frequent access for examinations.
Slip-on shoes or washable slippers with non-slip soles may be easier than lace-up shoes. Footwear still needs to meet the hospital’s infection-control and fall-prevention requirements.
These choices are not universal rules. If the child prefers hospital clothing, or if the unit restricts outside garments, the family should follow that policy.
What to Leave Behind
Items that cannot be cleaned, laundered, or disinfected may not be permitted. The same may apply to objects that shed fibers, collect dust, contain feathers, or come from an environment with soil, mold, smoke, or construction exposure.
Unwashed soft toys, feather pillows, fresh flowers, plants, and bulky fabrics are common examples of items that may be restricted. The answer is not identical in every hospital, so parents should ask before packing a beloved toy or blanket. A washable comfort item may be acceptable after inspection or cleaning; another may need to stay at home.
It is sensible to bring fewer personal items than the room can comfortably hold. Everything that enters the room becomes something that must be stored, cleaned, moved during procedures, or taken home later. A small number of familiar, washable objects can be more useful than a suitcase of belongings.
Devices and Comfort Items
A long charging cable, headphones, a tablet, and downloaded entertainment can make a long admission easier. Hospital Wi-Fi may be unreliable, but some centers restrict cellular devices near equipment or have rules for photography and video calls. Ask about those rules before relying on a particular setup.
Books, craft materials, games, and art supplies need to be compatible with cleaning requirements. Avoid bringing materials that produce dust, loose glitter, soil, feathers, or small parts that are difficult to disinfect. The child’s age and immune status determine what is reasonable.
A small notebook or digital log can help parents record symptoms, questions, medication changes, bowel movements, oral intake, and conversations with the clinical team. It should support communication, not turn the parent into a second laboratory. Parents do not need to calculate trends independently; they do need a reliable way to tell the team what changed and when.
Documents and Medication Information
Keeping essential documents together can reduce stress, especially when several hospitals or specialist teams are involved. Depending on the center, the folder may include:
- Identification and insurance information.
- Medication and allergy lists.
- Recent dental and specialist reports.
- Consent documents and transplant education materials.
- Contact details for the referring team and local clinicians.
- Caregiver authorization forms.
- Information about the donor or graft, where the center has instructed the family to retain it.
Do not bring every original document unless the hospital requests it. Digital copies may be useful, but families should protect personal information and follow the center’s instructions for electronic communication.
Medication lists need to include prescription medicines, inhalers, supplements, vitamins, and occasional products such as pain relievers. The transplant pharmacist will decide what should be continued, stopped, substituted, or supplied by the hospital.
Making the Timeline Work
The most effective pediatric HSCT preparation steps are not about completing everything as early as possible. They are about sequencing tasks so that one result can inform the next decision.
A family may need to coordinate:
1. Initial transplant review. Confirm the proposed conditioning regimen, expected admission window, testing requirements, and the person responsible for each appointment.
2. Organ assessment. Complete cardiac, pulmonary, renal, liver, laboratory, and infection evaluations within the center’s accepted time frame.
3. Dental and infection review. Report abnormalities promptly so the team can decide whether treatment, monitoring, or additional clearance is needed.
4. Line and anesthesia planning. Confirm the catheter type, fasting instructions, laboratory requirements, and teaching schedule.
5. Caregiver and home planning. Arrange leave, backup care, lodging, transportation, and household changes before the admission date.
6. Final confirmation. Ask which results must be repeated if the date changes and which practical items are permitted in the room.
The family should also know what to do if something changes. Fever, cough, vomiting, diarrhea, new rash, dental pain, exposure to a contagious illness, a missed timed urine sample, or a new medication can all be relevant. Calling the transplant coordinator early is usually more useful than trying to decide independently whether a symptom is serious enough to mention.
The clinical prerequisites are determined by the transplant protocol; the packing list and home routine are usually recommendations that must be adapted to the child and the center.
The Sober Verdict on Pre-Admission Readiness
Pre-admission preparation is a clinical process, but it is not a test of whether a family can execute a perfect household operation. The non-negotiable elements are the ones the treating team identifies as necessary for the child’s specific disease, organ function, infection risk, conditioning regimen, and access plan. Other actions — special clothing, a particular device, a home filter, or a carefully organized folder — can be helpful without being universal requirements.
The most important step is to obtain the institutional checklist in writing and ask which items are mandatory, which are time-sensitive, and which are simply recommended. Confirm the acceptable testing windows. Clarify the kidney method rather than relying on a label such as “GFR.” Ask how a dental finding will be handled before assuming it automatically cancels admission or, conversely, that it can wait.
Families do not need to predict every complication. They do need a clear route for reporting changes and a realistic plan for the weeks after admission. Baseline results give the team a starting point. Dental and infection review reduce avoidable risk. A properly planned catheter prevents repeated venipuncture. Caregiver preparation protects the child’s continuity of care. Thoughtful packing saves energy when energy is scarce.
That is the useful way to approach a pediatric bone marrow transplant checklist: not as a collection of universal rules, but as a sequence of decisions that should be completed, documented, and adapted to the child’s actual treatment plan.